Almost all hiking boots are waterproofed out of the box, because come with a factory-applied durable water repellency treatment (or DWR treatment for short) on them. However, this treatment does not last forever and will eventually wear off. You’ll know it’s time to re-waterproof your boots when they start to feel wet and soggy inside, or if the water beads up on the surface instead of beading off.
There are many products on the market designed specifically for waterproofing boots, but you have to be aware that even the best product won’t work if you don’t use it right. That is why we made this guide on how to properly waterproof your hiking boots or shoes.
Waterproofing hiking boots: step-by-step
Each material requires a different approach when waterproofing. We’ll go over different types of hiking boots and take to the process of waterproofing them.
How to waterproof leather boots?
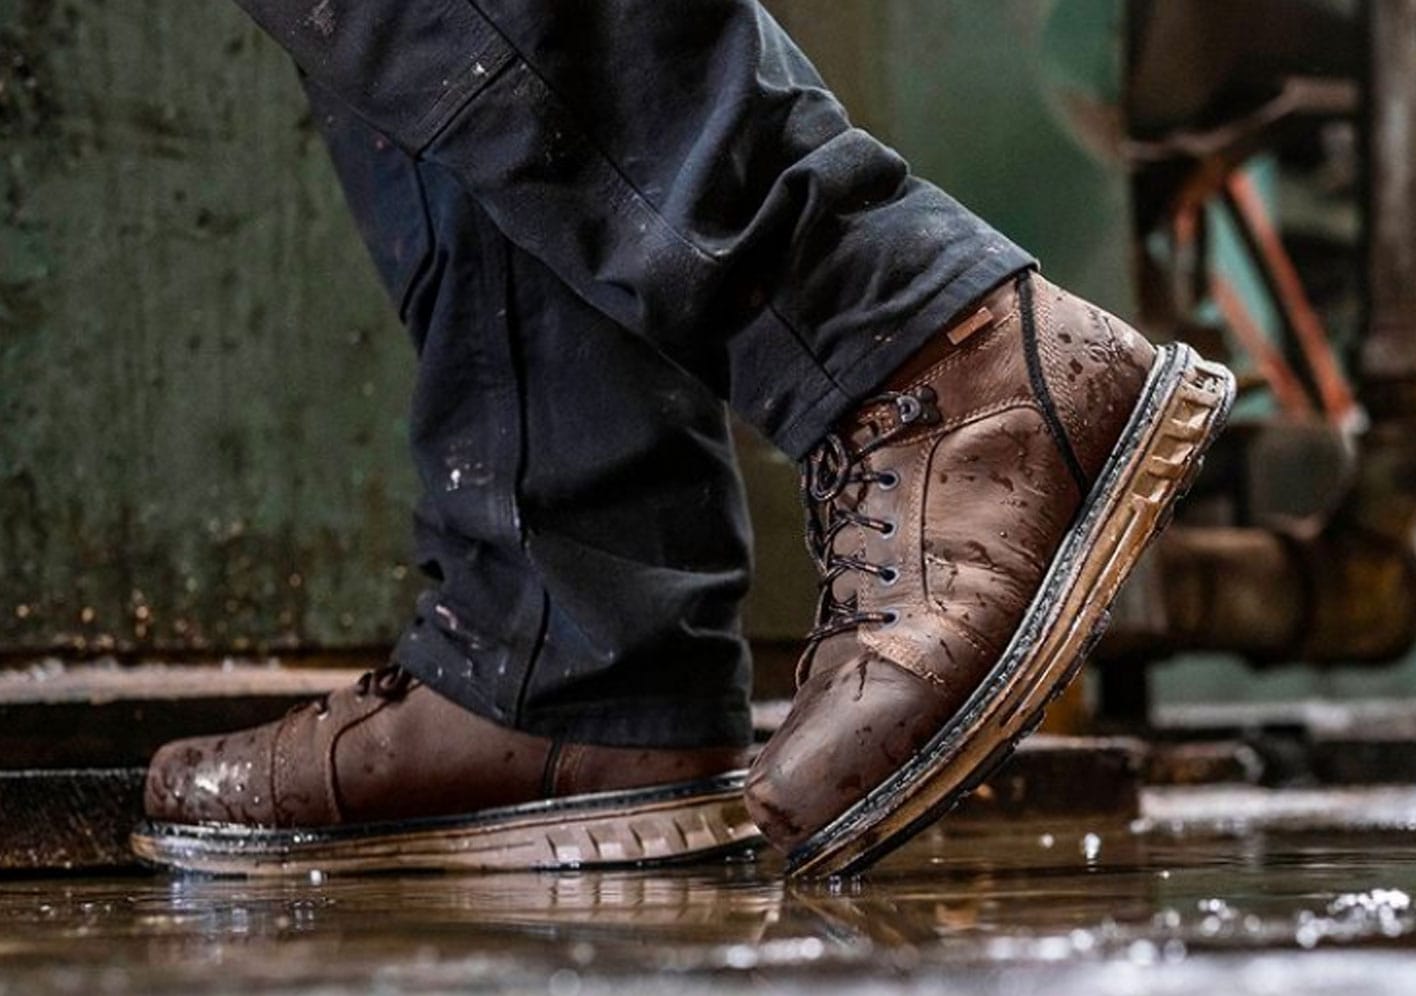
The most common and durable type of hiking boot is made out of leather. Leather is a natural material that is both flexible and strong, making it an ideal choice for footwear that needs to take a beating.
To waterproof your leather boots, you’ll need to use a waterproofing cream or wax. These products work by creating a barrier on the surface of the leather that repels water.
Step 1: Take out the laces and clean the boots

First, start by cleaning your boots with mild soap and water to remove any dirt or grime. Then, apply the waterproofing cream or wax to the entire boot, paying special attention to areas that are prone to leaks, such as seams and stitching.
Step 2: Apply the leather waterproofing product

Allow the product to dry completely before putting your boots on, and you should be good to go! For a detailed explanation of the process of waterproofing leather boots, take look at this video by OldSoulMillenial:
Nubuck and suede boots waterproofing
Though materials like nubuck and suede are rarely found on hiking boots, it’s good to know that you can waterproof them as well.
Step 1: Choose the right product
There are many waterproofing products on the market, but not all of them are created equal. Some are designed specifically for nubuck and suede, while others can be used on any type of footwear. Be sure to read the labels carefully to make sure you’re using the right product for your boots.
This Danner waterproofing spray is perfect for nubuck, suede and rough-out leathers. It is also safe for fabrics like nylon and Cordura.

Step 2: Prepare the boots
Before you start waterproofing, it’s important to make sure your boots are clean and free of any dirt or debris. The best way to do this is to brush them with a soft bristled brush, followed by a damp cloth. Allow them to air dry completely before you start waterproofing.
Step 3: Apply the waterproofing agent
Most waterproofing agents come in a spray bottle, which makes it easy to apply evenly. Start by spraying a light layer on the boots, paying special attention to the seams. Once the entire boot is covered, let it sit for the time specified on the product label.
Step 4: Repeat
After the initial layer has dried, apply a second layer to be sure your boots are fully waterproofed. Remember, it’s always better to err on the side of too much waterproofing than not enough.
Step 5: Allow the boots to dry
Once you’ve applied the second layer, let the boots dry in a well-ventilated area. Avoid direct sunlight, as it can cause the leather to crack.

How to waterproof Gore-Tex boots – step by step
Gore-tex is a waterproof and breathable material that is often used in hiking boots. Though it does a great job of keeping your feet dry, it’s not invincible. Over time, the Gore-tex membrane can become clogged with dirt and debris, which reduces its ability to breathe. This can lead to sweaty and uncomfortable feet. Here is what to do when your Gore-tex hiking boots need some tlc:
Step 1: Clean the boots
The first step is to clean the boots, both inside and out. Start by removing the laces and any removable liners or insoles. Then, brush away any dirt or debris from the surface of the boot. Next, use a mild soap and water solution to clean the inside of the boot. Allow everything to air dry completely before moving on to the next step.
Step 2: Apply a Gore-tex waterproofing spray
There are many Gore-tex waterproofing sprays on the market, so be sure to read the labels carefully to find one that is compatible with your boots. Most of these products work by creating a barrier on the surface of the Gore-tex that repels water.
To apply the spray, start by putting on a pair of gloves. Then, holding the boot upside down, evenly spray the entire surface of the boot. Allow the boot to dry for the time specified on the product label.
Step 3: Reapply as needed
Depending on how often you wear your boots, you may need to reapply the waterproofing spray every few months. If you notice that your boots are no longer repelling water as well as they used to, it’s time for a fresh coat.
How long does waterproofing last on hiking boots?
The answer to this question depends on a few factors, including the type of waterproofing product you use and how often you wear your boots. In general, most waterproofing sprays will last for several months. If you find that your boots are no longer repelling water as well as they used to, it’s time to reapply the waterproofing spray.
How often you should waterproof hiking boots?
This answer also depends on a few factors, including the type of waterproofing product you use and how often you wear your boots. In general, most waterproofing sprays need to be applied every few months. If you find that your boots are no longer repelling water as well as they used to, it’s time to reapply the waterproofing spray.

Can You Waterproof Shoes and Boots with WD40?
WD40 is a popular multi-purpose product that can be used for a variety of tasks, including waterproofing leather shoes and boots. The product works by creating a barrier on the surface of the shoe or boot that repels water. Though this is not the ideal waterproofing product, it can be used in a pinch.
To waterproof your shoes or boots with WD40, start by removing the laces and any removable liners or insoles. Then, brush away any dirt or debris from the surface of the shoe or boot. Next, use a clean cloth to evenly apply WD40 to the entire surface of the shoe or boot. Allow the shoe or boot to dry for at least 30 minutes before wearing.
Keep in mind that WD40 is not a long-term solution for waterproofing your shoes or boots. The product will need to be reapplied every few months. In addition, WD40 can damage some materials, so be sure to test it on a small area of the shoe or boot before proceeding. Also, WD40 tends to make the leather of your boots look darker, so keep that in mind when using it.
Waterproofing boots: final thoughts
Waterproofing your boots is a simple and effective way to keep them in good condition, no matter the weather. By following the steps outlined above, you can keep your boots looking and feeling great for years to come. When it’s time for getting a new pair, take look at our considerable collection of hiking boots and shoes by top brands like Merrel, Keen, and Danner. Northwest Outlet has the best prices all year round!